Custom CD Packaging
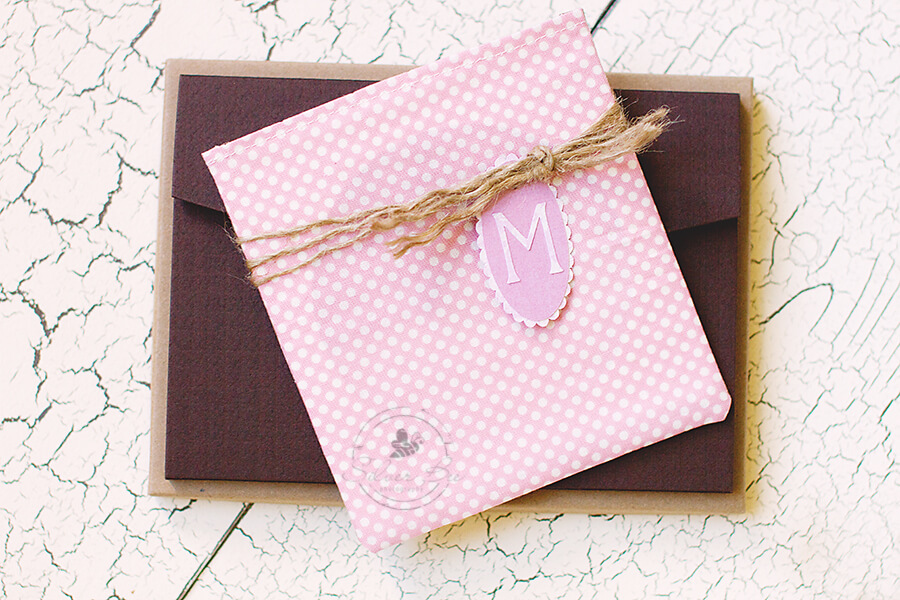
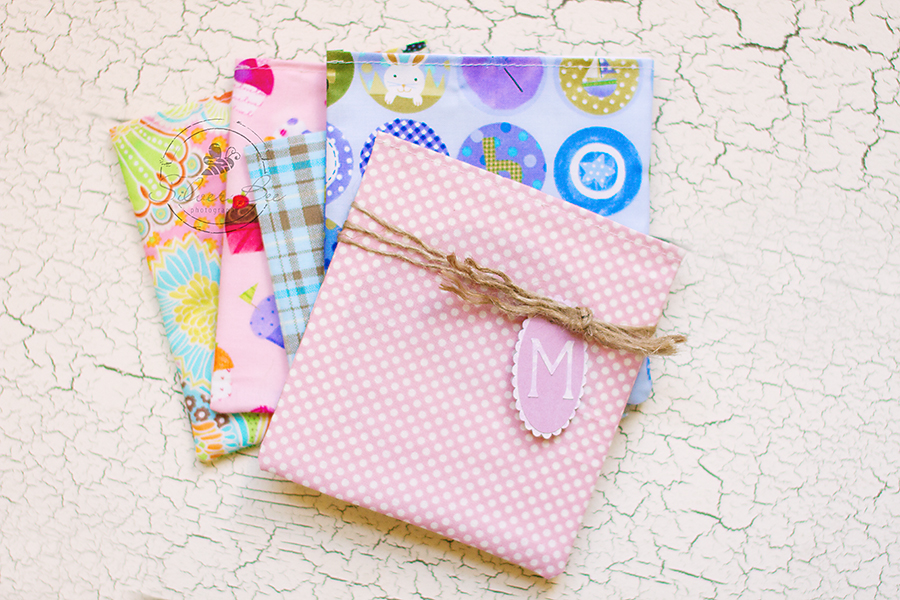
Well, this is for all of you photographers looking to make your photography packaging a little more personal and snazzy. As a newborn and child photographer, I like to provide custom packaging for each of my families that I work with. Each and every one is different just like family dynamics are. This just sparks things up a little, and I get compliments all the time from my clients on my packaging. And the best part is they are finished in about 20 minutes or so.
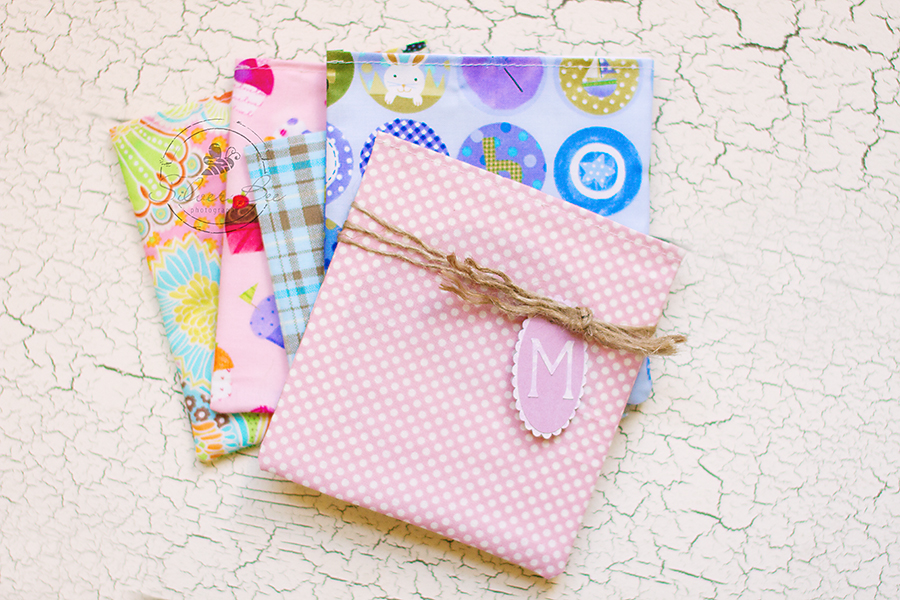
So here goes! This is easy-peasy and can be a no-sew project as well. I was lucky enough to receive my mom’s sewing machine and it gets sparked up every now and then. Here is a step-by-step guide and give it a go already!
I have stacks and stacks of fabric that I have collected over the years so I usually go to my stash unless I am wanting something specific as far as design or pattern. I usually will sit for a couple of hours and make a few batches so that they are made ahead of time. This is very handy, especially right now during the busy holiday photography season. The one here in the demo if for a 7 day old baby boy, so I chose some blues and fun pattern. I chose two different coordinating fabrics so that the front and back are different, dresses it up a bit don’t ya think?

Once you have chosen your fabric, you will need to cut it into the dimensions needed for your CD or prints. I am making a CD cover so my dimensions are roughly 5.5″ x 6″. You can just put CD cover on your fabric and eyeball it. Just leave enough room for the seam around edges.

I like to sew with a 1/4″ seam, so I add a half inch to the sides. But whatever seam size suites your fancy is the way to go! Go ahead and slice it any way you choose, rotary cutters are best for me, but scissors will do too. Please pardon my not so fancy photography here. I’m in the dining room (missing my Colorado basement) with terrible lighting.

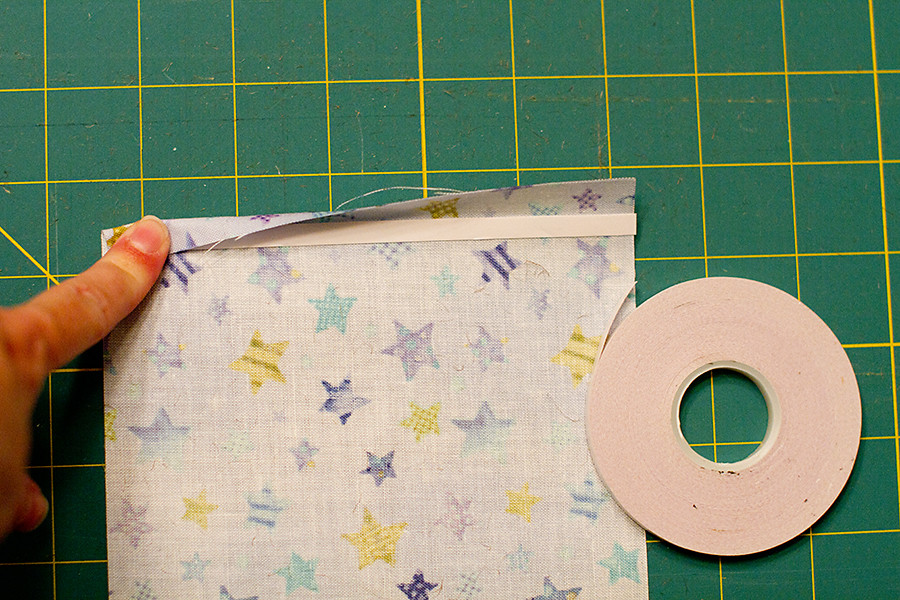
Alrighty, on to the sewing, or not-sewing if you choose. On both pieces of fabric you need to sew the top edge, so that it has a finished look. Fold over the top edge about 1/4″, you can pin if needed, but I just rough it. (Clearly I can’t hold, fold and photograph quality at the same time).

And go ahead and run a straight stitch right down the middle of the fold. My stitch length is set at 3, which is auto for my machine. If you don’t want to sew, you can use No-Sew hemming tape here if you like, just follow products directions.
Repeat on the second piece of fabric on same edge. Once this is all done, place both pieces of fabric together with good sides together. You will sew around the three raw edges, be sure not to sew the top shut (yes, I have done this before from not paying attention).
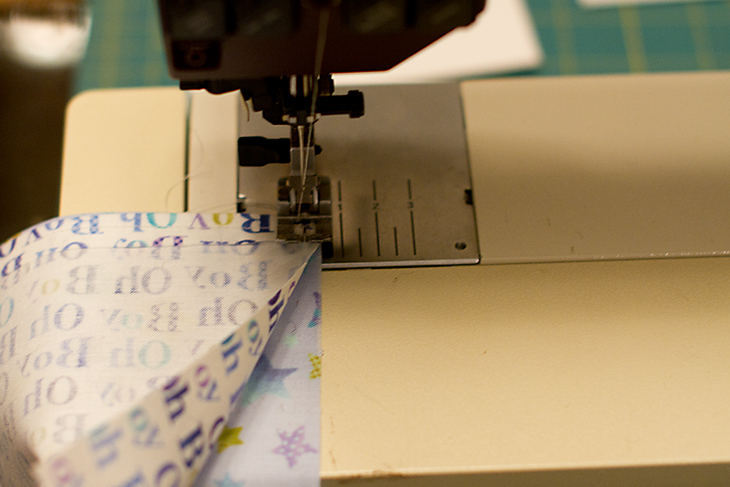
Once you made it all the way around, turn inside out and push out corners as much as possible. Looking good, looking gooooood.

Now for the details, the fun part that is! I am a huge burlap and jute fan, can’t get enough of it. So for accessories I am using burlap and a little scrabble letter piece. I use the letter of the baby’s name that I have photographed or the family’s last name initial. You will need to drill a little hole in the corner of the scrabble tile if you use that. You can choose any type of accessory, doesn’t need to be letters or monograms.

Get my drillin’ on. Again, pardon the awful photos. Ewe.

Lining up all my finishing touches and ready to wrap it up!

Tie the jute around the custom cd cover, this is easiest if you have the cd and cover inside. I like mine to be nice and snug so this helps.
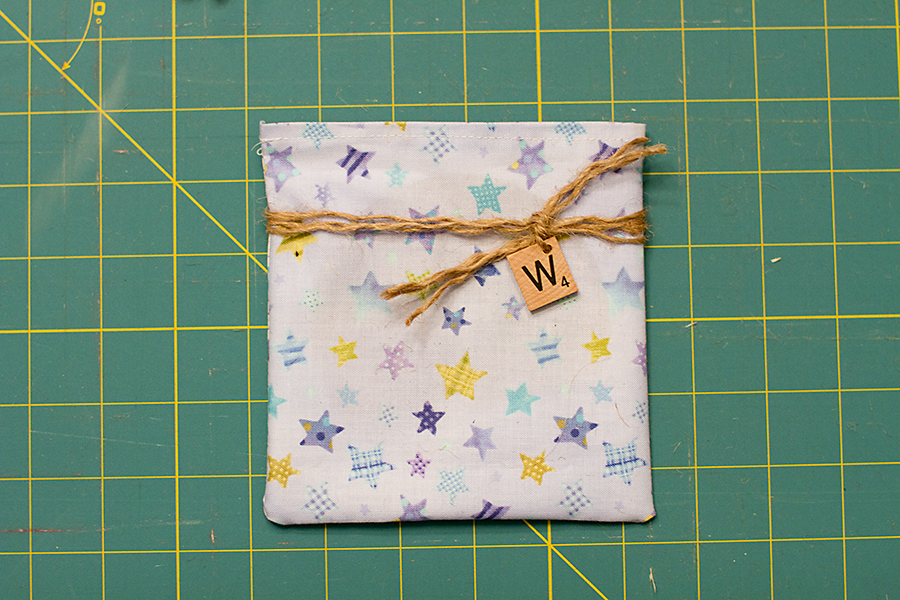
So you have a little something cute here, and personalization let’s them know that you appreciate them! The possibilities are endless, and this is quick and easy! Enjoy and thanks for tuning in!


Comments Off on Custom CD Packaging